jQuery for beginners step by step
In this article, we will go through each and every building block of jQuery in brief. You can think of this article as a cheat code for jQuery.
Notes Before We Begin
Note 1Please note that jquery is not like CSS, where you just define the styles inside the style tag within the header section of the page or inline in the tag itself or in an external css file linking to the main html file and browsers starts rendering the changes
Unlike CSS, jQuery is used to perform actions after your page is loaded. So you can write jQuery code inside events like click, change, etc., or inside a document-ready function:
$(document).ready(function(){
    // Your code here
});
A document-ready function is automatically and always called once your document is fully loaded.
Note 2All jQuery code is written inside a <script> tag.
Note 3Browsers do not understand jQuery directly. jQuery is simply a wrapper around JavaScript that ultimately translates to pure JavaScript.
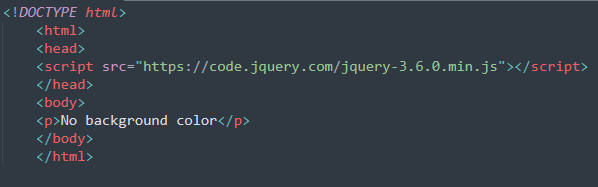
How to Include jQuery
Like any other script file, you need to add a reference to the jQuery file downloaded from internet or use a CDN:
<script src="https://code.jquery.com/jquery-3.6.0.min.js"></script>
Place this inside the <head> section of your HTML file.
Basic jQuery Syntax
Analyze the syntax first—understanding will come later as we move forward:
$(document).ready(function() {
    $("p").click(function() {
        $(this).hide();
    });
});
jQuery Explanation
- $() :- Selects elements.
- .ready(function(){}) :- Runs the code when the document is ready.
- .click(function(){}) :- Executes when an element is clicked.
- .hide() :- Hides the selected element.
jQuery Examples
1. Hide an Element
$("#hideButton").click(function() {
    $("p").hide();
});
2. Show an Element
$("#showButton").click(function() {
    $("p").show();
});
3. Change Text
$("#changeText").click(function() {
    $("h1").text("Hello, jQuery!");
});
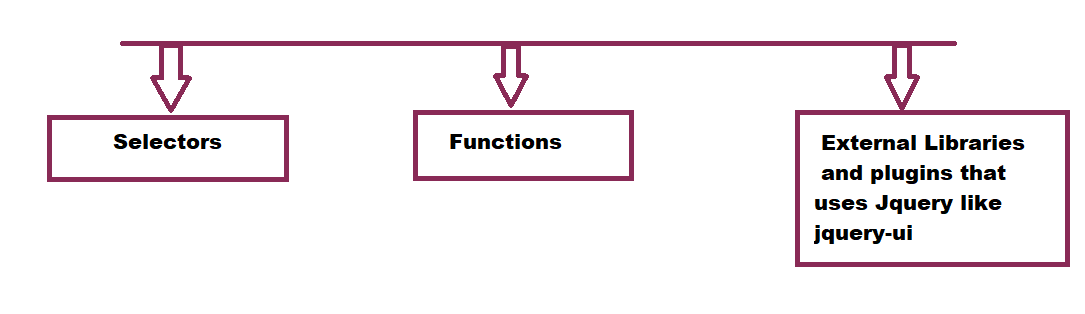
jQuery Core Concepts
To become a master of jQuery, you need to understand its three main pillars:
- Selectors
- Functions
- Libraries or Plugins
1. Selectors
In jQuery, you select an HTML element using the $() method. This method picks an element based on the argument you pass and then allows you to manipulate it.
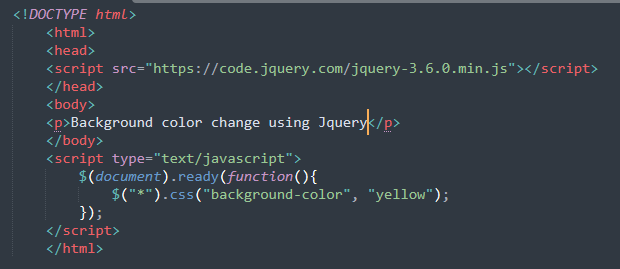
1.1 Basic Selectors1.$("*") :Select all elements
If you have to select each and every element in an html document then you can use $("*")
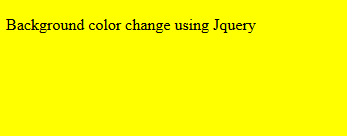
For example to make the background color of all elements in the document yellow at one go you can use the code $("*").css("background-color", "yellow");
so place the above code inside the ready function and refresh your HTML page, you will be able to see the changes.
2. $("#Id") :Select an element by ID
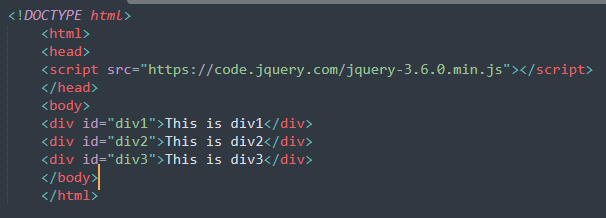
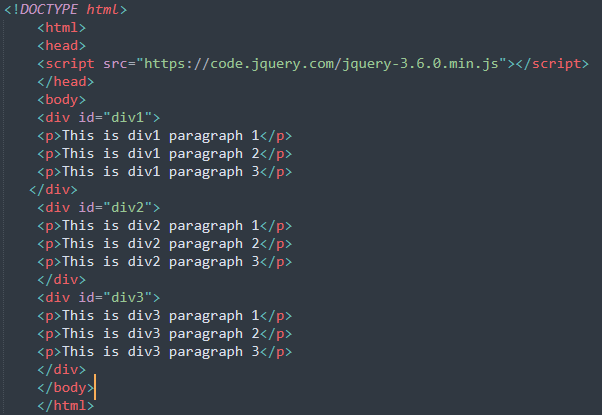
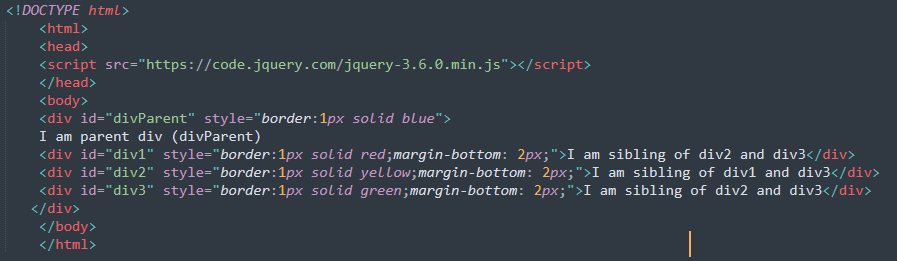
In jQuery, an ID is indicated by the # symbol. To select an HTML element using its ID, you will have to use $("#theidofelement").
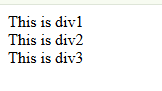
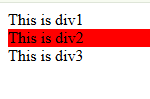
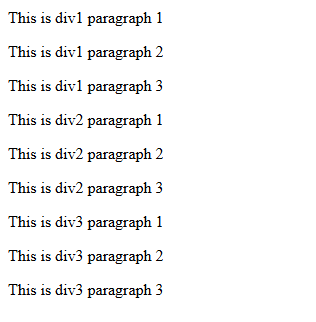
For example, as you can see in the below code, we have three <div> elements with IDs div1, div2, and div3 respectively. To select the <div> with ID div2, you can use $("#div2"), and then you can do whatever you wish on that <div>.
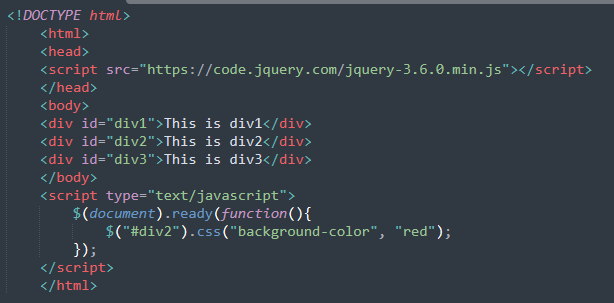
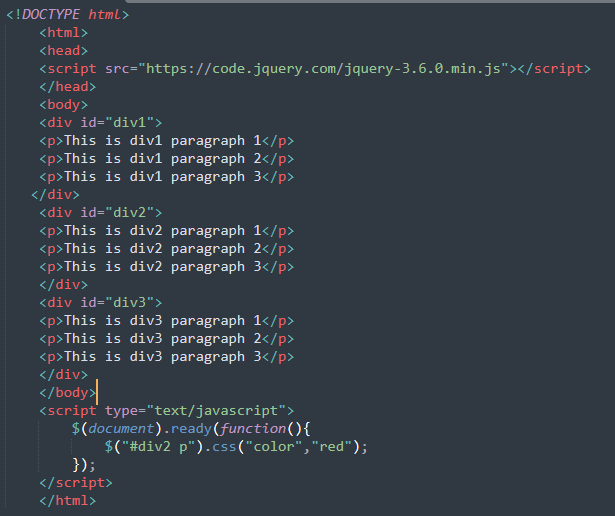
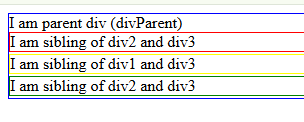
For example, you can change the background color of that <div> using the following code:
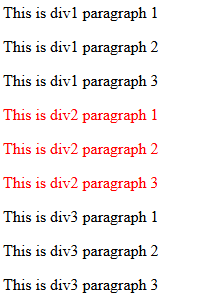
$("#div2").css("background-color", "red");
Place the above code inside the $(document).ready() function and refresh your HTML page. You will be able to see the changes.
3. $(".ClassName") :Select element by class
Sometimes we need to apply the same style, animation, or action (events) to multiple HTML elements at once. For example, it is not necessary that all <div> elements in an HTML document have different styles. If we want to apply the same style to div2 and div3, we would have to repeat the same CSS code twice if we use the ID selector.
Instead, we can use a class. A class acts as an identifier to group similar kinds of HTML elements.
In jQuery, a class is indicated by the dot '.' symbol. To select HTML elements having the same class name, you need to use $(".theclassname").
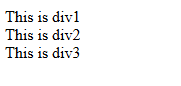
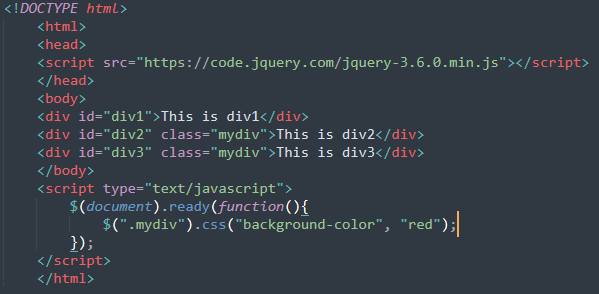
For example, in the code below, we have three <div> elements with IDs div1, div2, and div3. However, div2 and div3 belong to the same class 'mydiv'. To select both div2 and div3 at once, you can use:
$(".mydiv")
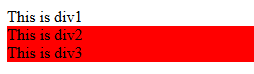
Then, you can apply any action to those <div> elements. For example, to change the background color of both div2 and div3, you can use the following code:
$(".mydiv").css("background-color", "red");

4. $("thehtmltag") :Select element by tag
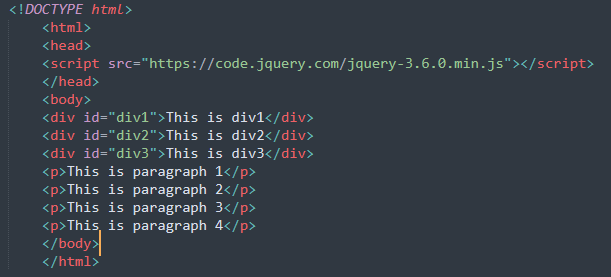
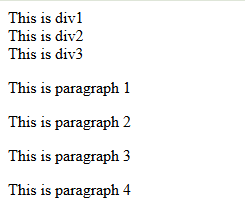
We can also select an element using the HTML tag itself. For example, suppose we have three <div> elements and four <p> (paragraph) elements. If we want to select all the paragraphs, we do not need to use an ID or class.
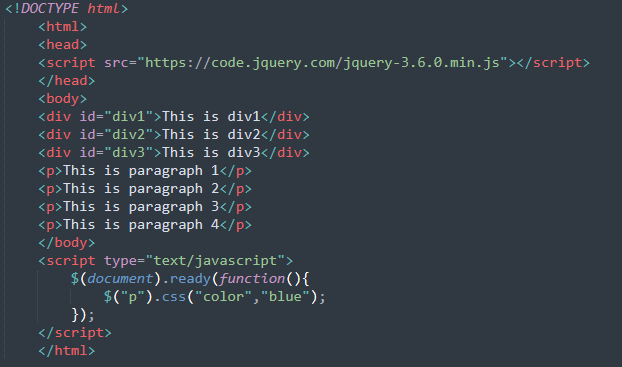
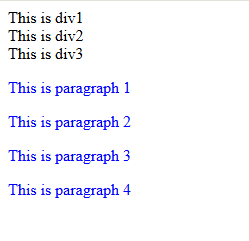
Instead, we can simply use the tag name itself, as shown in the code below:
$("p").css("color", "blue");
Summary
jQuery Selectors
| Selector | Description | Example |
|---|---|---|
$("*") |
Selects all elements | $("*").css("background-color", "yellow"); |
$("#id") |
Selects an element by ID | $("#div2").css("background-color", "red"); |
$(".class") |
Selects elements by class | $(".mydiv").css("background-color", "red"); |
$("tag") |
Selects elements by tag | $("p").css("color", "blue"); |
1.2 Hierarchy Selectors
1. Select all child elements
Sometimes we need to select children of a particular parent element. For example, suppose there are three <div> elements, and each <div> has three <p> (paragraph) elements. If you need to change the color of all the paragraphs inside the second <div>, you can use child selectors.
The children of a parent element are selected using a space. For example, to select all paragraphs inside div2, you can use the following code:
$("#div2 p");
After selecting the children, you can apply any changes you want to them. For example, the code below changes their color to red:
$("#div2 p").css("color", "red");
Note: This only selects the direct children. Direct children mean the immediate children of an element and not the children’s children.
2. Select Siblings
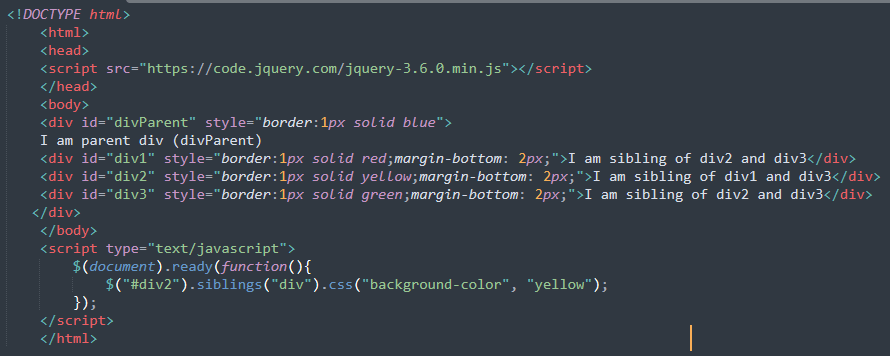
In jQuery, to select the siblings of any element, you can use the .siblings() function. For example, to select all sibling elements of type <div> for div2 (which are div1 and div3), you can use the following code:
$("#div2").siblings("div");
After selecting the siblings, you can apply any changes to them. For example, the code below changes their background color:
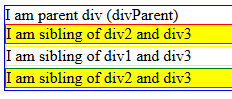
$("#div2").siblings("div").css("background-color", "red");
For those who are unfamiliar with the term "siblings": Siblings are elements that share the same parent. In simpler terms, they are like brothers and sisters in a family. In HTML, elements that have the same parent are considered siblings.
3. Select next sibling
In the previous example, we saw that the .siblings() function selects all the siblings of an element, meaning both the previous and next siblings. For example, div1 was the previous sibling of div2, and div3 was the next sibling.
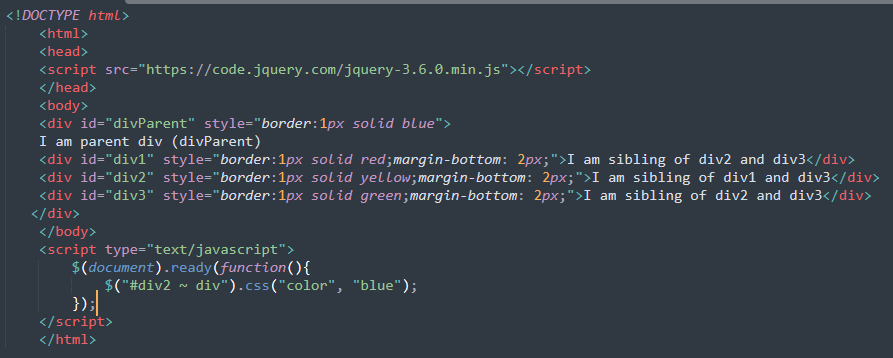
Now, to select only the next siblings (elements that come after the selected element), you can use the tilde ~ symbol.
For example, to select all the next siblings of div2, you can use the following code:
$("#div2 ~ div");
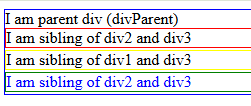
After selecting the next siblings, you can apply any changes to them. For example, the code below changes their text color to blue:
$("#div2 ~ div").css("color", "blue");
4. Select immediate next sibling
In the previous example, we saw that the ~ symbol can be used to select all the next siblings. However, if you want to select only the first next sibling, you can use the + symbol.
For example, to select just the first next sibling of div2, you can use the following code:
$("#div2 + div");
Below is a comparison of different sibling selectors:
- $("#div2 ~ div") :- Selects all div siblings that come after #div2.
- $("#div2 + div") :- Selects only the first div sibling after #div2.
- $("#div2").siblings("div") :- Selects all div siblings (both before and after #div2).
Summary
jQuery Hierarchy Selectors
| Selector | Description | Example |
|---|---|---|
$("#parent p") |
Selects all child elements | $("#div2 p").css("color", "red"); |
$("#div2").siblings("div") |
Selects all sibling elements | Changes color of div1 & div3 |
$("#div2 ~ div") |
Selects all next siblings | $("#div2 ~ div").css("color", "blue"); |
$("#div2 + div") |
Selects only the first next sibling | $("#div2 + div").css("color", "blue"); |
1.3 Attribute Selectors
1. Select element with specific attribute
To select an HTML element using its attribute, you can use square brackets with the attribute name. For example, to select all elements that have a title attribute, you can use the following code:
$("[title]")
2. Select element with specific attribute value
We rarely need to select elements based only on their attribute name, as shown in the previous example. In most cases, we need to select an element based on its attribute value. To do this, you need to define the value as well. For example, to select all input elements of type text, you can use the following code:
$("[type='text']")
3. Select elements where attribute starts with
In web development, while using loops to generate dynamic HTML elements, we often structure IDs in a specific pattern like divcar1, divcar2, etc. Sometimes, we need to select elements whose IDs start with a specific value. To select all div elements whose ID starts with "divcar," you can use the following code:
$("[id^='divcar']")
4. Select elements where attribute ends with
Similar to ^= for selecting elements where an attribute starts with a specific value, we can use $= to select elements where an attribute value ends with a specific value.
For example, to select all elements whose ID ends with "tr," you can use the following code:
$("[id$='tr']")
Summary
jQuery Attribute Selectors
| Selector | Description | Example |
|---|---|---|
$("[title]") |
Selects elements with a specific attribute | $("[title]").css("border", "2px solid red"); |
$("[type='text']") |
Selects elements with a specific attribute value | $("[type='text']").css("border", "2px solid blue"); |
$("[id^='divcar']") |
Selects elements where attribute starts with a value | $("[id^='divcar']").css("color", "green"); |
$("[id$='tr']") |
Selects elements where attribute ends with a value | $("[id$='tr']").css("color", "orange"); |
1.4 Form Selectors
A web page will always have form elements like radio buttons, text controls, dropdowns (select element), checkboxes etc. So to select a specific form element you can below codes
jQuery Form Selectors
| Selector | Description | Example |
|---|---|---|
$(":text") |
Selects text inputs | $(":text").val("Hello World"); |
$(":password") |
Selects password fields | $(":password").css("border", "2px solid red"); |
$(":radio") |
Selects radio buttons | $(":radio").prop("checked", true); |
$(":checkbox") |
Selects checkboxes | $(":checkbox").prop("checked", true); |
2. Functions
2.1 Selection & Traversing
jQuery Functions
| Function | Description | Example |
|---|---|---|
.find() |
Finds elements inside another | $("#div").find("p"); |
.children() |
Gets direct children | $("#div").children("p"); |
.parent() |
Gets the direct parent | $("#p1").parent(); |
.siblings() |
Gets all siblings | $("#p1").siblings(); |
.next() |
Gets the next sibling | $("#p1").next(); |
.prev() |
Gets the previous sibling | $("#p1").prev(); |
2.2 DOM Manipulation
jQuery DOM Manipulation Functions
| Function | Description | Example |
|---|---|---|
.html() |
Get or set HTML content | $("#div").html("Hello"); |
.text() |
Get or set text content | $("#div").text("Hello"); |
.val() |
Get or set input value | $("#input").val("John Doe"); |
.attr() |
Get or set attribute | $("#img").attr("src", "image.jpg"); |
.removeAttr() |
Remove an attribute | $("img").removeAttr("src"); |
.addClass() |
Adds a class | $("p").addClass("red"); |
.removeClass() |
Removes a class | $("p").removeClass("red"); |
3. Events
jQuery Event Functions
| Event | Example |
|---|---|
.click() |
$("#btn").click(function() { alert("Clicked!"); }); |
.dblclick() |
$("#btn").dblclick(function() { alert("Double Clicked!"); }); |
.hover() |
$("#btn").hover(function() { alert("Hovered!"); }); |
.focus() |
$(":text").focus(function() { alert("Focused!"); }); |
.blur() |
$(":text").blur(function() { alert("Blurred!"); }); |
Note:- The section is not yet completed and we will explore all the events and functions in our coming articles.