In the previous article, we covered all the basic concepts of HTML, including headings, paragraphs, links, images, lists, videos, and more. It's time to put it all into practice and create a simple webpage using these concepts.
But, before that, it's crucial to understand the basic structure of a webpage.
Basic Structure of a Webpage
A basic webpage consists of 3 parts:
- Header
- Body (Articles, sections, and aside – We'll explore this in the next article)
- Footer
Header
The header usually contains the logo, brand name, and navigation bar. However, you can design it any way you like. It is at the top of your webpage and is the first thing a user sees when visiting your website. So, making it beautiful, interesting, and engaging is highly crucial. Moreover, it should remain constant on all your web pages. Make sure to make it easy to navigate.
Here are the examples of headers:


Body
In the body section, we put the main content of the page. It is divided into multiple sections, such as gallery, features, testimonials, about, contact, services, and much more. You can also design it to your liking so there is no hard and fast rule for the sequence of the elements. The following are the examples of some body sections:


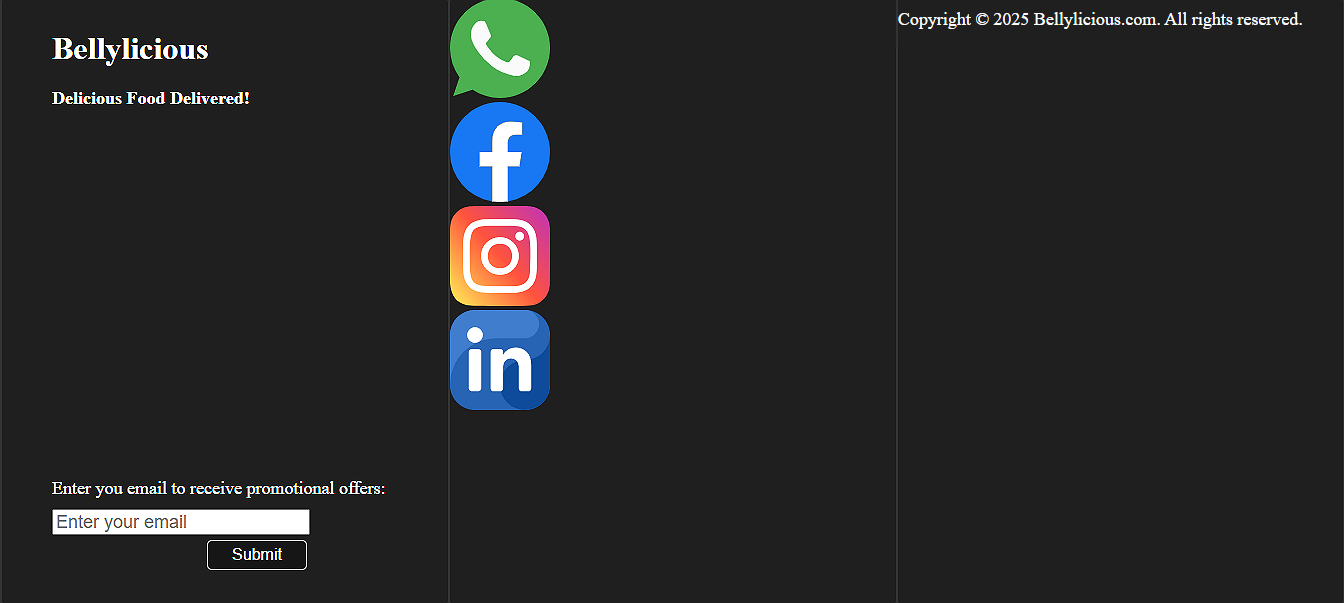
Footer
The footer is the last part of a webpage that remains constant throughout the website, just like the header. It can contain the opt-in form, quick links, social media icons, copyright disclaimer, etc. Like any other section, there are no specific rules for designing this section. You can put anything you like here. The following are some examples of footer sections:

Now that we have learned about a web page's basic structure, it's time to design something. In this tutorial, we will design the header along with the hero section of the webpage.
What is the Hero Section?
The first section of the home page is called the Hero section. It contains some text, images, buttons, etc, and is placed on the website's landing or home page. It is the first section that a user sees when they visit your website's home page. Therefore, it has to be quite engaging.
Building the Header of the Webpage
We'll create the header section of a food ordering website, which will look as follows:
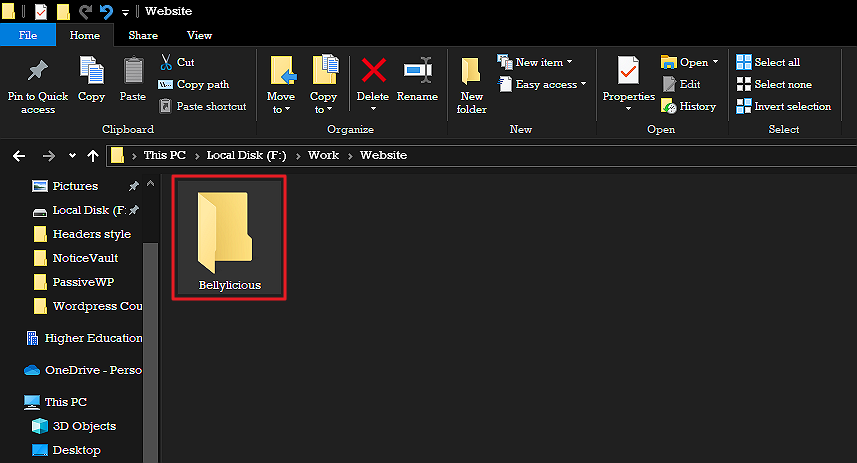
First, create a new folder and save it as "Bellylicious."
Now, open the code editor as per your preferences. I'll use Notepad++ since I like coding every bit of code by hand, but you can use VS Code, SublimeText, or any other code editor for convenience.
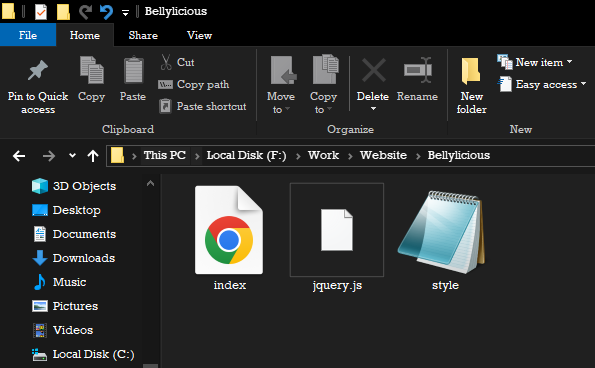
First, we'll create and save 3 files with the following names and extensions:
- index.html
- style.css jquery.js
- Main Div: Assign the "container" class.
- Header: Assign the "header" class.
- Logo: Assign the "logo" class.
- Logo Heading: Assign the "heading" class.
- Navigation: Assign the "nav" class.
- Buttons: Assign "nav_btn" class.
- Hero Div: Assign "hero" class.
- Hero Text: Assing “hero_text” class.
Make sure to save these files under the Bellylicious folder.
Defining the Basic HTML Elements
Now, define the basic HTML elements that we learned in the previous post:
<!DOCTYPE HTML>
<html>
<head>

	<title>Bellylicious</title>
	<meta charset="UTF-8">
	<meta name="viewport" content="width=device-width, initial-scale=1.0">
</head>

<body>

</body>
</html>
Defining the Divisions
We will break down the page into different divisions to make it more manageable.
Reminder:We divide the page into multiple divisions to manage the positions of different elements on a webpage.
The comments with each div specify its purpose in the following code.
<!DOCTYPE HTML>
<html>
<head>

	<title>Bellylicious</title>
	<meta charset="UTF-8">
	<meta name="viewport" content="width=device-width, initial-scale=1.0">
</head>

<body>

	<!--main div-->
	<div>

		<!--Header-->
		<div>
			<!--Logo-->
			<div><h1>Bellylicious</h1> </div>
			<!--Navigation-->
			<div>
				<button>Home</button>
				<button>Menu </button>
				<button>Order</button>
				<button>About Us</button>
				<button>Contact</button
			</div>
		</div>

		<!--Hero-->
		<div>
			<h1>Bellylicious - Delicious Food Delivered!</h1>
		</div>

	</div>

</body>
</html>
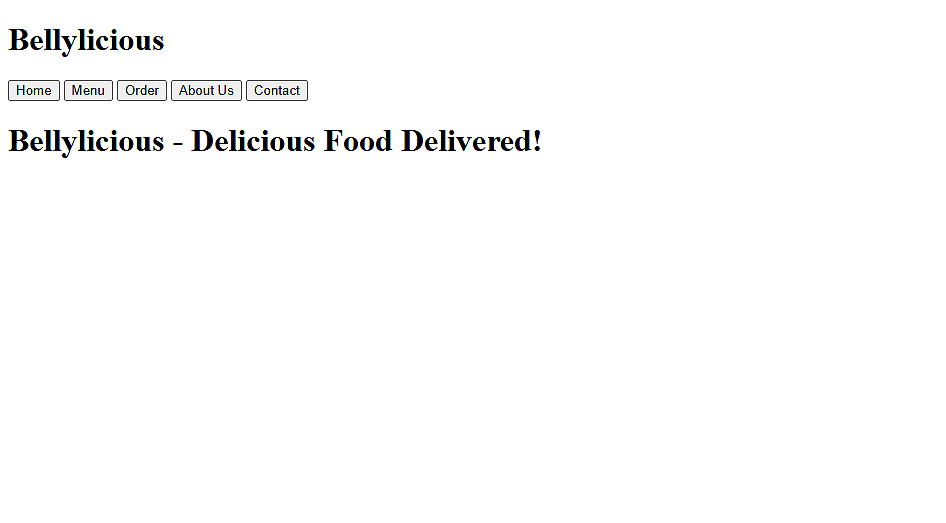
Currently, if you run this code, you will get the following output:
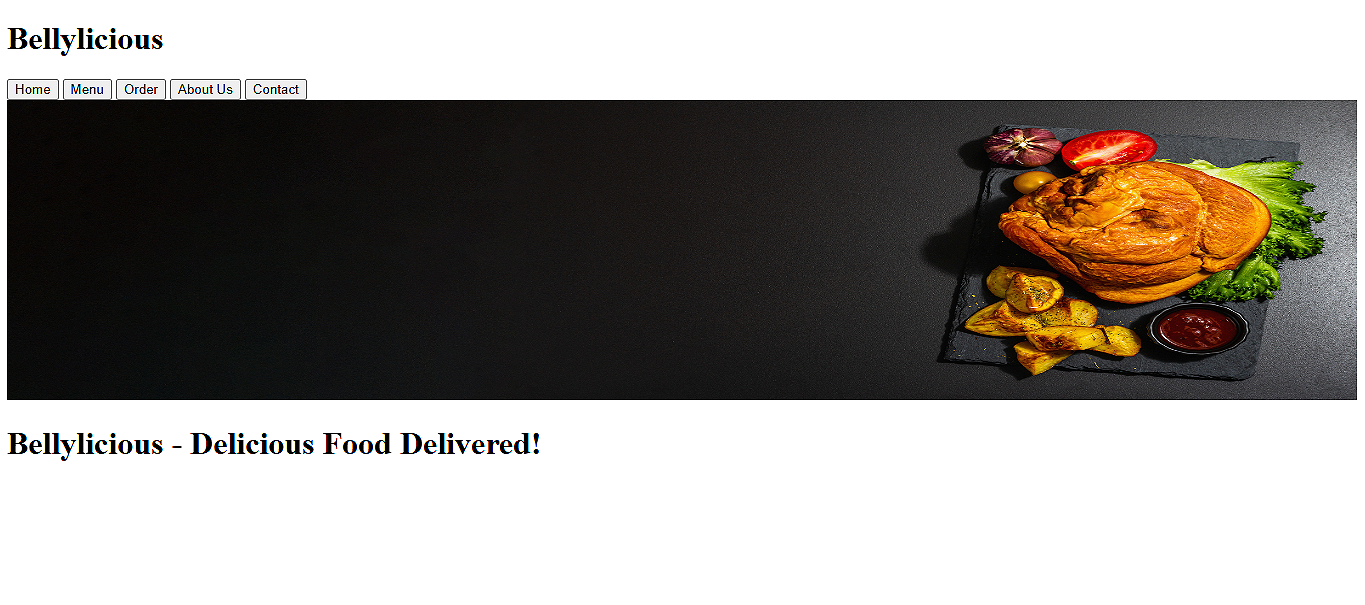
Let's also add an image for the hero section:
<!--Hero-->
		<div>
			<img src="images/background_image.jpg"/>
			<h1>Bellylicious - Delicious Food Delivered!</h1>
		</div>
Currently, the image has covered a very large area on the page.

Let's also add width and height attributes to make it smaller.
<!--Hero-->
		<div>
			<img src="images/background_image.jpg" width="1350px" height="300px"/>
			<h1>Bellylicious - Delicious Food Delivered!</h1>
		</div>
Here's how it looks now:
We need to specify the source (src attribute) for the image. So make sure that you either save the file within the "Bellylicious" folder or specify the complete path. Refer back to the HTML for Beginners article to recall the syntax for images.
As you can see, it does not look so engaging. We will make it colorful and engaging with CSS later. For now, let's assign the classes and IDs to the elements so we can apply CSS easily.
Assigning Classes and IDs
The classes and IDs in HTML are used to apply CSS to the elements. The difference between both is that classes are reusable and can be used with multiple elements, whereas the IDs should be used with a single element; hence, they must be unique. You will learn more about classes and ID in the introduction to CSS, so let's assign the classes to the elements.
<!DOCTYPE HTML>
<html>
<head>

	<title>Bellylicious</title>
	<meta charset="UTF-8">
	<meta name="viewport" content="width=device-width, initial-scale=1.0">
</head>

<body>

	<!--main div-->
	<div class="container">

		<!--Header-->
		<div class="header">
			<!--Logo-->
			<div class="logo"><h1 class="heading">Bellylicious </h1> </div>
			<!--Navigation-->
			<div class="nav">
				<button class="nav_btn">Home</button>
				<button class="nav_btn">Menu </button>
				<button class="nav_btn">Order</button>
				<button class="nav_btn">About Us</button>
				<button class="nav_btn">Contact</button>
			</div>
		</div>

		<!--Hero-->
		<div class="hero">
			<img class="bg_img" src="images/background_image.jpg" width="1350px" height="300px" />
			<h1 class="hero_text">Bellylicious - Delicious Food Delivered!</h1>
		</div>

	</div>

</body>
</html>
Good to Know: Previously, text formatting from within the HTML was possible using the attributes and <font> tag. However, it was deprecated in HTML5 since HTML is a markup language used to define the website structure and not the styling language. Although we have assigned the classes, our webpage still looks the same since we have not defined any CSS yet. We will do that in the CSS section. For now, you can play around with the header and add different elements we learned in the previous article.
In the next lesson, we will continue building this webpage and define the page body.